![]() This post may contain affiliate links for the companies that I partner with. I may receive a commission if you purchase anything from these links. This is at no additional cost to you and I only recommend great companies that I personally use or have used. More info here.
This post may contain affiliate links for the companies that I partner with. I may receive a commission if you purchase anything from these links. This is at no additional cost to you and I only recommend great companies that I personally use or have used. More info here.
Hey there! Are you ready to create a website? This is the first step toward creating something tangible for your online business and I’m going to try to make this as easy as possible for you!
When you first start your online business, it can be so easy to get pulled in a million different directions. There are always so many tasks to complete at any given time.
Consider this guide your get-out-of-jail-free card while also collecting $200 as you pass GO! I may have recently played monopoly for the first time in 20 years.
In this guide, we’re going to use Bluehost (my recommended hosting company) to create a website. I’ve been using Bluehost for multiple websites for years now and they’re one of the best and lowest-cost plans to get started with!
I’ve also partnered with Bluehost to get my audience a discount on hosting (just $1.99/month). This discount works for any of the links in this article and on my website and you’ll also get a FREE domain name!
1. What is your business about?
The good news is that you don’t actually have to know this before you create a website, although I’m sure most of you will want to have this figured out before getting started.
I cover this in much greater detail in my courses but if you still aren’t sure…
- Think about the areas you have professional or personal experience in.
- How can you help others?
- What problems have you personally overcome?
- Do you have any passion projects or side hobbies?
- What would people say you can’t shut up about?
These are all great places to start because you should start your website about a topic(s) that you already have some knowledge or experience in.
2. What are you going to name your business?
This one seems like it would be mega-important, but it’s actually not the most important part of your business. People don’t pay as much attention to your name as you think they do. But do give it some thought and see if you can come up with something clever.
Here are a few suggestions:
- Use your name – This makes sense if you’re a central part of your business.
- Be descriptive – Use descriptive adjectives related to what your business is about.
- Combination – Use a combination of the above two.
ChatGPT is a great resource if you need some inspiration and ideas. Just give it some idea of what you’re looking for and it will generate as many ideas as you want or need!
The key points to remember here are that your business name should be: easy to spell, easy to pronounce, and easy to remember.
3. Get a hosting plan and create your website.
Got your business idea and a business name? Great! Let’s start your website!
The very first step is to get a hosting plan to take your website “online.”
As I mentioned earlier, Bluehost is my recommendation to get started. I’ve tried a few different hosting companies over the years and I can honestly say that they have one of the best and lowest-cost plans to get started.
These are the most popular, low-cost hosting companies for new website owners:
- Bluehost (exclusive discount)
- HostGator
- SiteGround
I’ve tried all 3. I started with SiteGround and had some issues with them when they throttled my website traffic and wanted me to upgrade to more bandwidth for a lot more money. I ended up switching to Bluehost and getting the issue resolved at a much more affordable price.
I’ve been using Bluehost for years now to host 6-7 different WordPress websites. They have great and easy customer service and a really easy setup process. It’s for all of these reasons and more that it’s my top recommendation.
You can start your website with Bluehost for as low as $1.99/month (just $36 ) and that’s only through my exclusive discount in this guide.

I’ve found that Bluehost has the best customer service compared to their competitors and trust me, you’ll need some help from customer service at some point along this journey. It’s inevitable.
Click here to get open Bluehost in a new window and follow these simple instructions:
1. Choose the basic plan to get started.
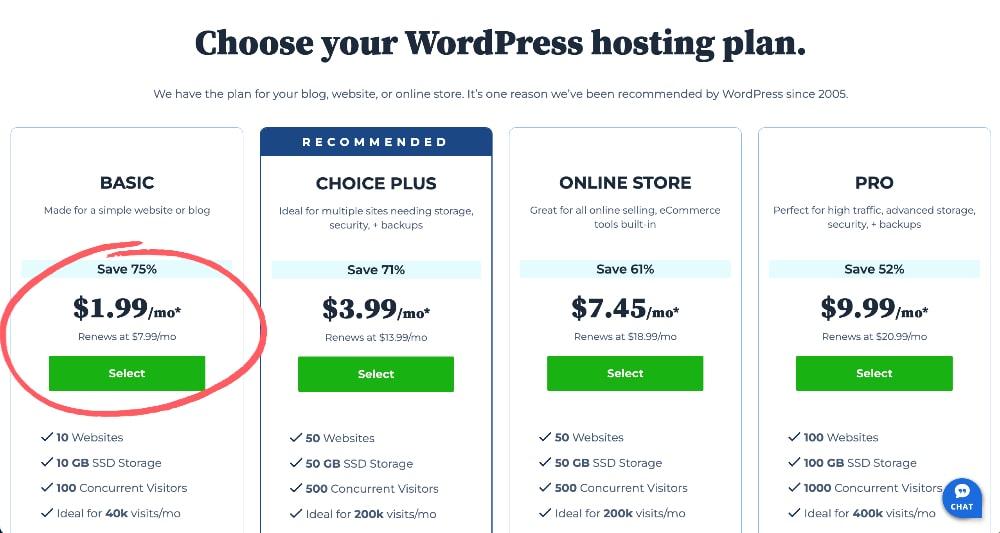
2. Choose your domain name (or choose to do it later).
Don’t stress too much if your first choice of domain name isn’t available. Just get creative with it.
For example, one of my other websites is called Mindful Max, but the domain for it is themindfulmax.com because mindfulmax.com was already taken. No biggie though. This is pretty normal.
If you need more time to decide on your domain name, just click to choose a domain later and you can ask ChatGPT for some helpful suggestions and get that part finished once you’ve set up the hosting plan.
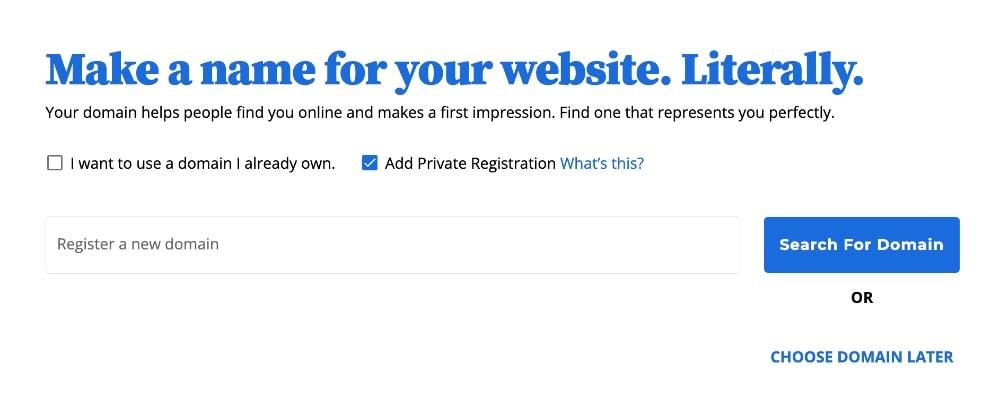
Click to search for your domain or select “CHOOSE DOMAIN LATER” if you need some more time to figure this out.
3. Remove “extras” from cart before checkout.
Note: If you opt to choose your domain name later, your cart will look a little different. You won’t see the “.COM Domain” item in the list.
Otherwise, if you chose a domain name, your cart will look like this, but we are going to remove a couple of unnecessary charges from your cart:
- Domain Privacy + Protection: All domain names are listed in a public registrar with the name, address, and phone number of the owner (you). There is an extra cost to of $11.88/year to “hide” these details from the public registrar, but it just saves you a spam phone call or two. I don’t usually pay for this on new websites.
- Professional Email: I would recommend instead setting up a free domain email with Gmail rather than paying for professional email services.
So just make sure to click the trash can icon on these extras so that you won’t be charged beyond the free trial period:
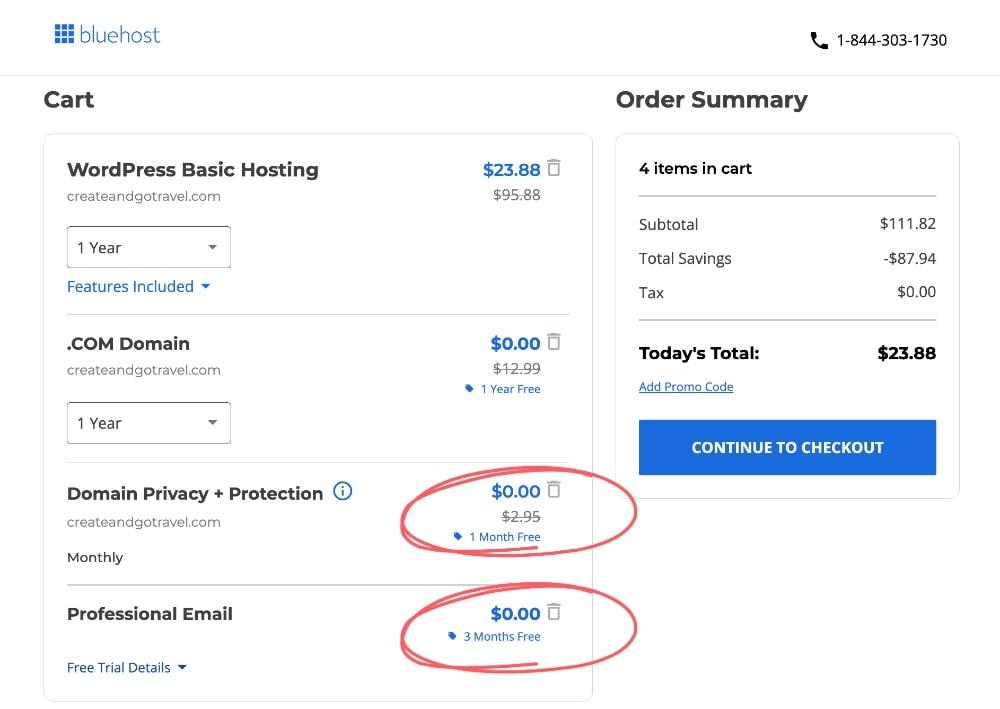
Once you’ve done that, click to continue to checkout.
4. Fill in your account details, password, and payment information.
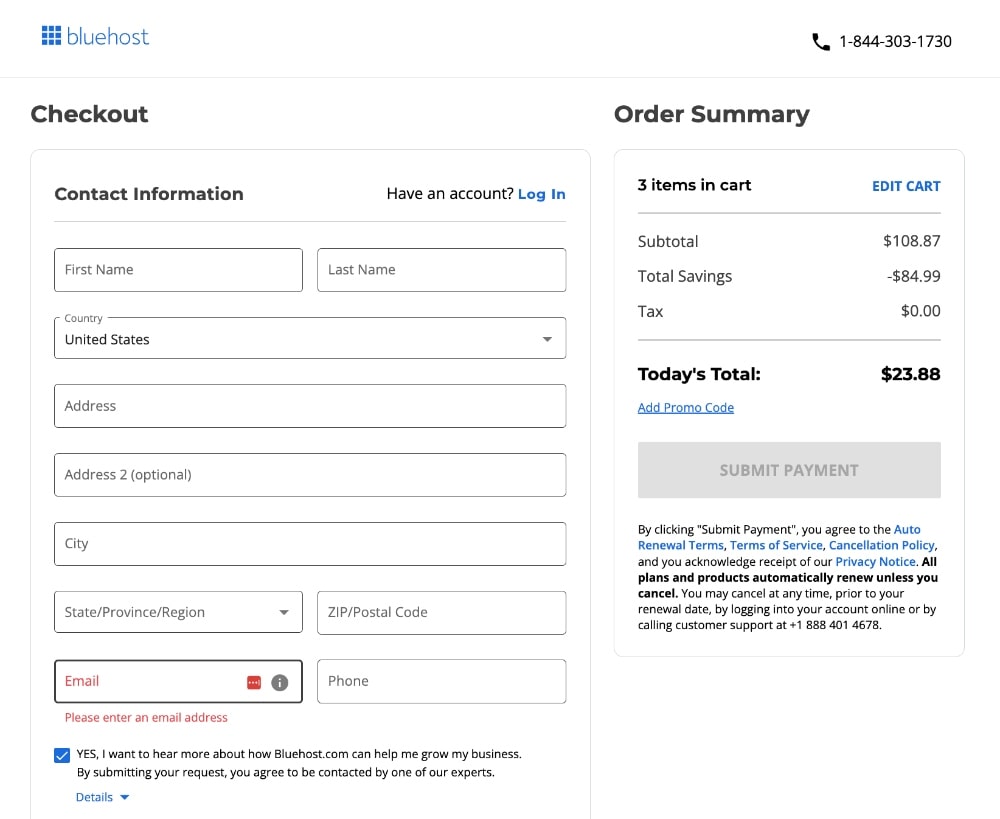
Once you’ve entered in all the necessary details, click to submit the payment, and you’re done! ✅
Congratulations! You’ve created a website! Now, let’s move on to designing your website and getting some content up there!
4. Finish setting up your website.
Bluehost should prompt you to keep setting up your website. This is a one-step installation with WordPress, which is the platform on which you will build your website on.
WordPress is the most powerful platform for content-based websites and while it can seem a little overwhelming at first, you’ll get the hang of it in no time – I promise!
If you need any additional help here, you can read more about accessing WordPress on your site.
5. Design your website!
Okay, now we’re at the fun stuff! You’re going to be faced with a choice at this point:
- Path 1 is to choose a basic theme, opt for a simple and professional design, and move on to creating content.
- Path 2 is to spend days switching between themes and trying to design your website like a pro (when, in fact, you are not).
I don’t think I have to tell you which path is the right one…
I recommend starting with a basic free theme that has a healthy amount of customization included. My personal favorite is the Astra theme.

If you use Astra, you’ll also want to use the Elementor plugin (free version) to be able to customize your homepage and other pages a bit more.
When you go to download Astra, just make sure to click on the link (below the pricing options) to download the free version!
Another great option is Flash theme, although I personally prefer Astra + Elementor. Both of these themes and the plugin all have pro versions, but you can create a really great design using the free versions.
This website is a great example. I designed it for free with Astra + Elementor.
If you have it in the budget for your business, you can also invest in a paid theme like Divi, which is generally considered one of the best and most customizable themes for beginners. But feel free to try the free options out first!
Start out with a very simple and professional design and then move on to the main part of the show… the content.
I built my website. What’s next?
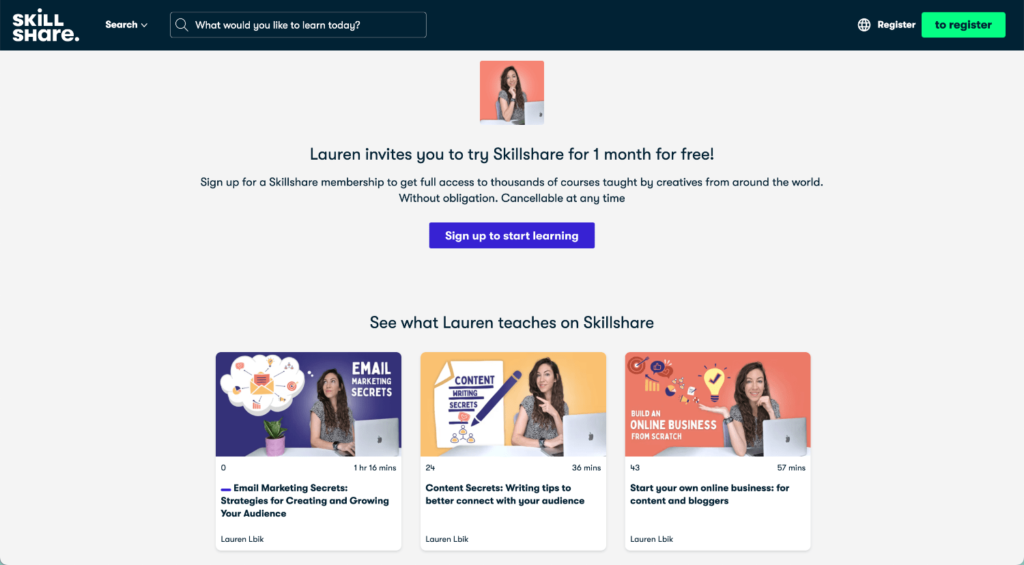
Congrats! Hopefully, you’ve already taken my courses. If not, the best place to access them is by signing up with Skillshare.
The coolest part: You can access ALL of my courses (plus thousands of other courses) for one low monthly (or annual) fee.
You can also purchase them individually on Udemy as well. Check my courses page for more info.
If you have any questions on how to create a website or anything else, please post them below or sign up for my email list and send me an email!
I’d love to hear from you!
Would it be possible to write article in multi languages? Also, can design the website in TAMIL language rather than english?
Yes, you can definitely write a website in any language! If it starts ranking in Google or other search engines, it will be found in the country whose language you’re writing it for (i.e. it won’t show up in Google search for most North Americans if it’s not in English).